It is already established that learning first aid is imperative. Emergency help is always fruitful as even seconds are important to save a person’s life. With our basic guide to first aid, we provide you with the three simple but important steps to follow during the situation.
General Steps To Follow In All Conditions
Follow these principles and steps given below in the primary management of an affected person. There are additional steps and precautions one must bear in mind which will differ from the presented problem. Before you do anything else, start by trying to find out what happened at the scene. It will be helpful to you plan your next steps better.
1. Make The Area Safe
Remove any potential harms from around the person. Call the police if there are security concerns.
Move the person only if –
- The area cannot be made safe
- There is a lag in the arrival of medical help/ambulance
- It is more dangerous not to move the person than to move him/her as in road accidents, fire mishaps, etc.
2. Seek Help

Call for an ambulance and attention from medical/paramedical professionals as soon as you identify a person in need. Seek help from bystanders around to help manage the person’s condition and ensure safety. An ambulance is a preferred mode of transporting the person to a healthcare facility. Although, in situations where there is a potential delay in the arrival of an ambulance to the site, transporting the person in any other available vehicle might be the best option.
3. Evaluate The Condition Of The Affected Person
Check the person if he/she is
1. Conscious
See if there is a response to sound, touch, and questions like what is your name. If not, see if there is a response to pain by pinching the person on the arm. If there is still no response, consider the person to be unconscious. If the person is unconscious but is breathing properly, it is advised to place the person in what is called the recovery position by following these steps –
- Put the person on the floor, making sure the legs are outstretched.
- Kneel by the side of the person.
- Place the nearest arm (the one on the side you are kneeling next to) at right angles to his body and bend the forearm upwards with the palm facing up.
- Lay the person’s other arm across his chest.
- Hold the back of this hand against his cheek on the side at which you are kneeling.
- With your other free hand, grip the leg on the other side of the person’s body under the knee, raising it while keeping the person’s foot on the ground, and pull the raised leg towards you.
- While doing this, keep the back of the person’s hand against his cheek. Roll the person towards you, so he turns on his side.
- Position the person’s upper leg in a way that his hip and knee are at right angles.
- Tilt the head back to keep the airway open.
- Make sure the mouth is angled downwards to prevent the risk of choking on blood or vomit.
Do not leave the person alone and keep observing his/her breathing, if the person stops breathing, begin CPR immediately.
2. Breathing
Observe the person by
- listening to breath sounds
- looking at the movement of the chest/abdomen
- feeling the air come out of the nose/mouth
If an unconscious person is not breathing normally, there might be blockage of the airway. The airway must be cleared before anything else. To do so,
- Begin by making the person lie down on his/her back
- Kneel beside the person.
- Lift the chin forwards with the index and middle fingers of one hand while pressing the forehead backward with the other hand’s palm. It will clear the airways.
3. Has A Pulse
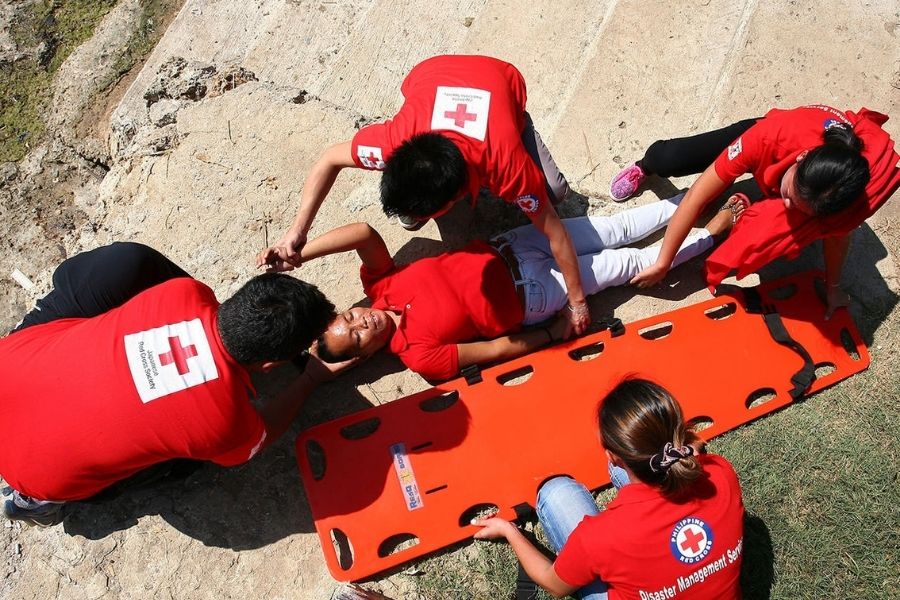
Look for a pulse by placing your fingertips at the midline’s side of the neck at the front—time it to see if it’s high or low. If you don’t find a pulse and the patient is unconscious, it is time to begin CPR (Cardio Pulmonary Resuscitation) –
- Turn the person on his back on a hard surface and call for help.
- Kneel next to the person, beside the upper arm.
- Place the one hand’s heel in the center of the person’s chest.
- Place the other hand’s heel on top of your first hand and lock your fingers of both hands together. Be careful not to apply much pressure to the person’s ribs or stomach.
- With outstretched arms, push down to about five to a maximum of six centimeters.
- Release the pressure to allow the lungs to fill with air.
- After each compression, allow the chest to rise fully again to let the blood flow back to the heart.
- Give 30 chest compressions in this way at a rate of 100 compressions a minute-not more than 120 compressions a minute less than two compressions a second.
After every 30 chest compressions, you can give the person a rescue breath by –
- Placing one hand on the person’s forehead tilting back his head.
- Placing your other hand on the chin and lifting the chin.
- Pinching the person’s nose with your hand that is on his forehead.
- Taking a normal breath and then putting your mouth completely over the person’s mouth and sealing with your lips.
- Blowing your air into the mouth of the person’s for one second.
After this, check if the person’s chest rises. If it doesn’t, check if anything is in the person’s mouth and remove any visible items that may be blocking the airway and try giving a rescue breath once more.
- Start another series of 30 chest compressions before you give the next rescue breath.
- When you get exhausted, switch with another person/bystander to continue CPR until the person starts to wake up, opens his eyes, there is some movement, and breathes normally.
- Personnel trained in CPR arrives and takes over.
Remember that any person who has stopped breathing or needs a CPR must be transported to the nearest healthcare facility as quickly as possible continuing CPR.
The Bottomline
You don’t always need to be a professional to give anyone in need first aid. All you need is the appropriate knowledge and skills. When you combine these with the presence of mind and a calm headspace, you can turn up and help save a person’s life or even better his condition from getting worse.
It is always beneficial to get basic training in First Aid through workshops being organized by several health organizations, including the Indian Red Cross Society. You can provide it to the people around you, including your family, friends, and colleagues, at the time when they need it the most.
Now that you know the basics of helping out when you find someone in need, the hard part is to put these skills to practice when the time comes. I know this is an overload of information and will take some time to process. I humbly request you to consider it & learn more from different resources like the First Aid guide from the Red Cross Society plethora of others available.